This product ships from your country, so you don't
have to worry about import fees or tariffs.


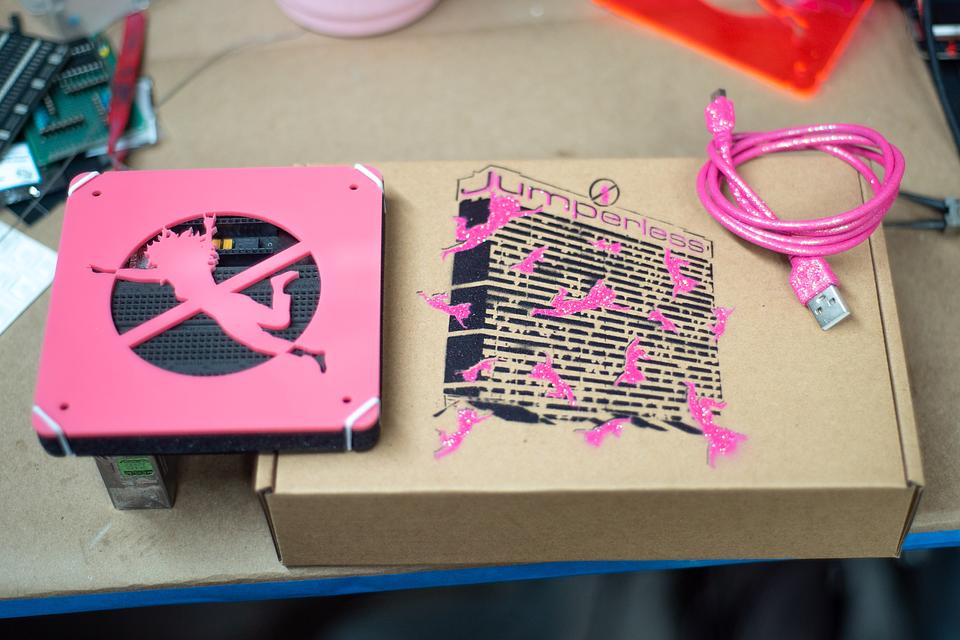

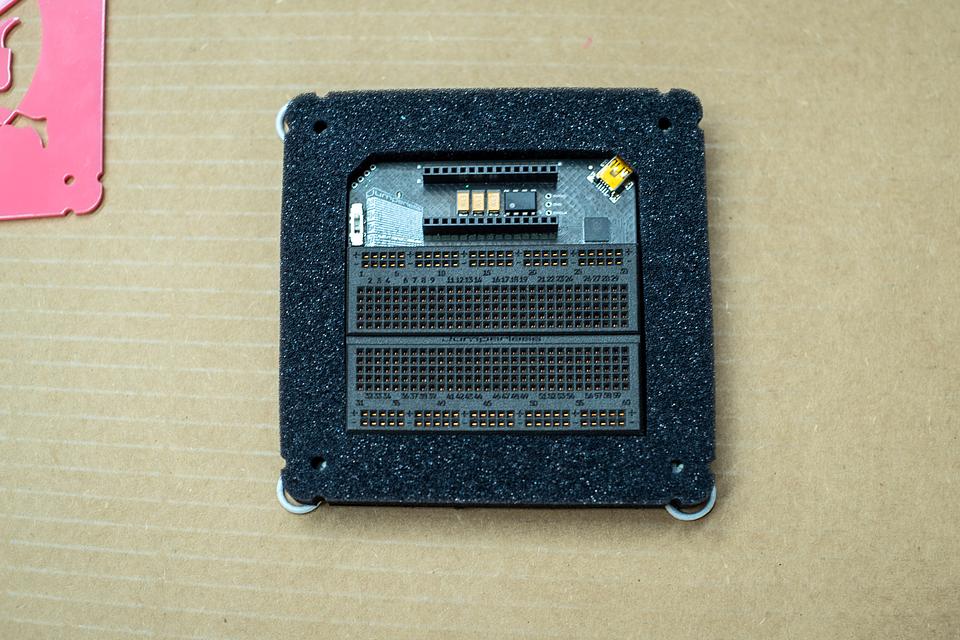

a jumperless (solderless) breadboard
Jumperless
a jumperless breadboard
[This video content is unavailable on this device]
What is it?

Using a bunch of analog crosspoint switches wired together into one bigger switch, this breadboard makes real, hardware connections between any points on the board or the Arduino Nano header at the top via software command, instead of needing to use jumper wires.

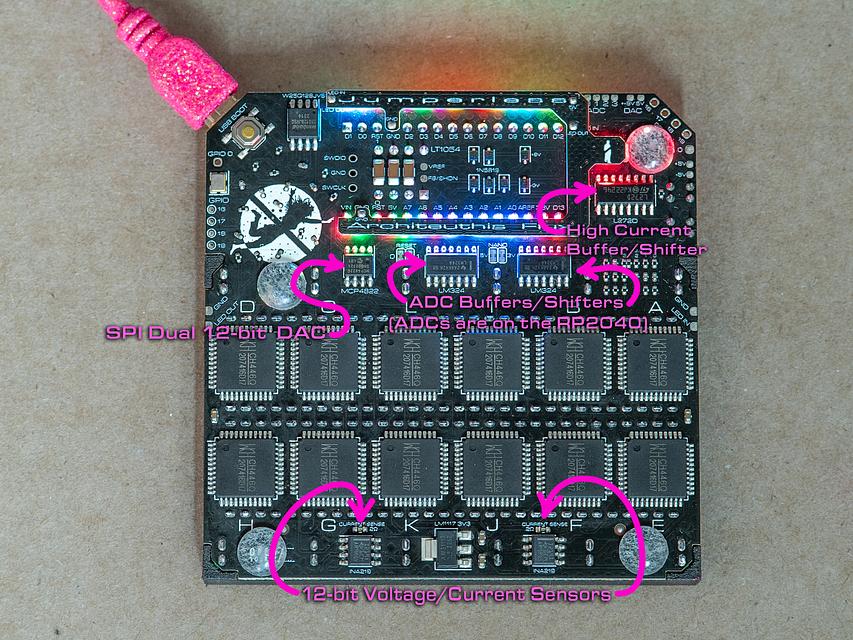
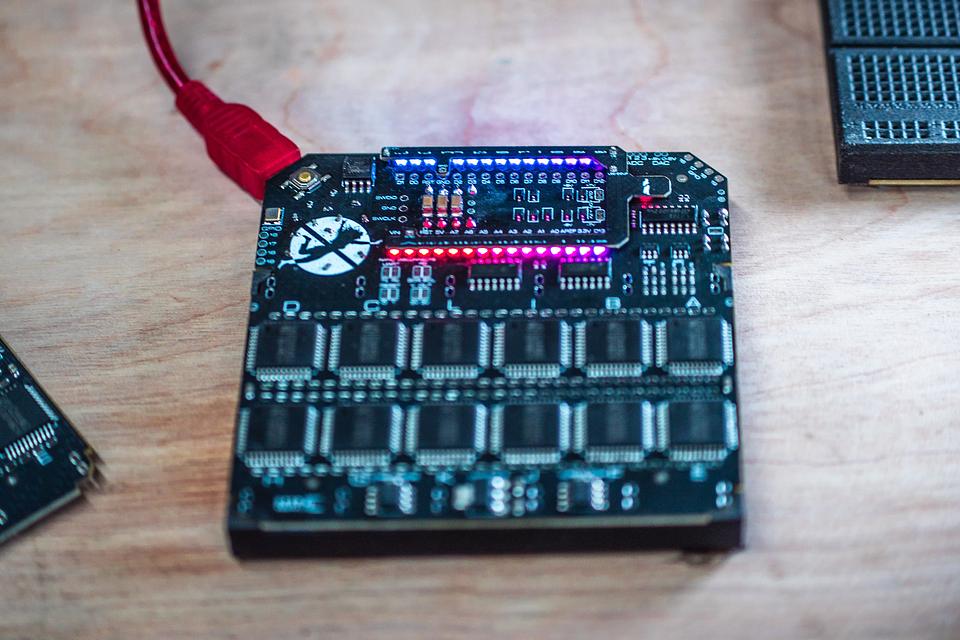
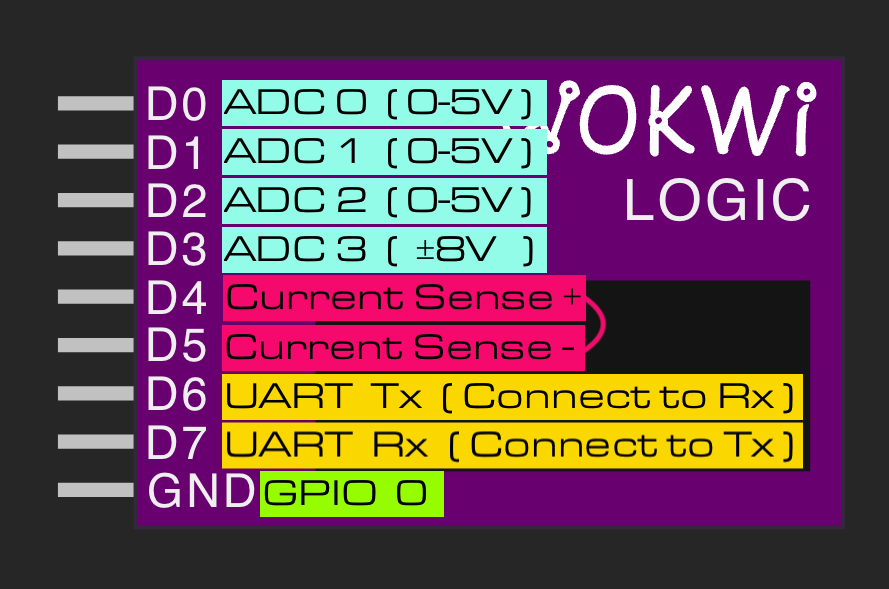
Jumperless also has a ton of voltage/current sensing so the RGB LEDs underneath each row can show a ton of information about what's going on with your circuit. 2 buffered high-current DACs (one 0-5V and one ±8V), 4 buffered and level-shifted 12-bit ADCs (3 are 0-5V and 1 for ±8V), 2 INA219 current and voltage measurement ICs, and 5 GPIO to simulate digital signals that can be routed to anywhere on the breadboard or the Arduino Nano header (also broken out to the top left corner for doing other things.)
Use it to probe the pins on an unknown IC (shown below), or for some automated fuzzing, or to read/write EEPROM chips, or to help guide you through converting a schematic to a real circuit, or do whatever the hell you want with it.
[This video content is unavailable on this device]
The connections are real and fully analog (-8V to +8V, up to around 1 MHz before signal quality starts to degrade) instead of cheating with some measure-then-simulate setup, although you can do that too if you want to simulate a memristor or to send jumpers over the internet.

These ones have the improved spring clips and 0 ohm jumpers on the GPIO 0 and UART Tx / Rx lines so the Jumperless can flash a 5V Arduino Nano automatically from your Wokwi sketch out of the box.
There are now Jumperless Forums!
Go there, hang out, and get any questions you have answered. I'll be posting updates about production and stuff there too.
Controlling the thing
Currently, the best way to make connections is using Wokwi while running the Jumperless Wokwi Bridge app on your computer. It's a Python script and command line interface that automatically pulls any changes you make to your Wokwi project and sends them to the Jumperless.
[This video content is unavailable on this device]
The commands are really simple and human readable so you can even just type in connections via any serial terminal you like. For example, sending
f    (then Enter to tell the Jumperless to accept connections)

1-2, 5-6, SUPPLY_5V-8,
over any serial monitor you like would connect row 1 to row 2, etc.
You can even have the Arduino Serial.print() that string (you don't even need an between f and the connections, a space will work too so "f 1-2,2-4,") the Jumperless will make those connections.
Here's a demo of an Arduino sending connections to the Jumperless over serial
[This video content is unavailable on this device]
It also passes through all the serial communications to and from the Jumperless so you can use the text-based menus to do things like running the wave generators, measuring current/voltage, and looking debug output on the Jumperless directly at the same time.
The latest firmware update now has the Jumperless show up as 2 USB devices, so you can connect the second one to the Arduino Nano and flash the firmware and communicate via Serial through one USB cable as if they were both plugged in separately. You can also route the UART Tx and Rx lines anywhere and talk to things just like you would with one of those cheap USB-Serial boards. More details about that here.
[This video content is unavailable on this device]
Firmware and stuff
The Jumperless is controlled by an RP2040 and can be programmed exactly like a Raspberry Pi Pico. I spend every waking second of my life working on the firmware so there will be frequent updates. There are prebuilt UF2 files on Github under Releases
The whole thing is open source so you can also edit/fix the firmware however you like (and please submit a pull request on Github to share your fixes)
There's also a whole series of Project Logs on Hackaday explaining the gritty details about what's going on in the firmware
Here's the full Getting Started guide on Hackaday
DACs
Revision 3 now uses a single MCP4822 2 channel SPI DAC, which is fast enough to make waveforms well above 40KHz.
[This video content is unavailable on this device]
The DACs are buffered through an LM272D High Power op amp.The outputs of the buffered analog voltages are broken out to pads in the top corner, so you could drive a smallish speaker directly from that if you wanted to.
The +-8V DAC output is hardwired to one of the 2 INA219 current/voltage sensors so you can always see how much current is being drawn. The other INA219 is routable anywhere on the breadboard.
If you blow something up on this board for whatever reason, just let me know. I'd be happy to repair it for you for free or walk you through the repair and send you the parts.
The ADCs are the built in (12-bit, 500ksps) ones from an RP2040, double buffered and level shifted to the 0-3.3V the RP2040 can handle. One of them is shifted to read +-8V, the other 3 are 0-5V.
[This video content is unavailable on this device]
Power supplies
The switch on the upper left controls the rail voltages, if you look at the side of the building in the logo, you'll see the settings; +-8V, 5V, and 3.3V. If you set it to +-8V, the top positive rail will be ~+8V and the bottom positive rail will be ~-8V. Otherwise, they will both be the same, either 5V or 3.3V. The negative rails are permanently tied to Ground.

Temper your expectations
Although Jumperless is made with love, it's not a precision instrument, the connections it makes go through CH446Q crosspoint switches and do have some resistance, about 85 Ohms total for a connection and resistance is matched to within 5 ohms for every connection. It sounds like a lot, but in practice it doesn't seem to have a noticeable effect on most circuits that one would build on a breadboard. It also sort of acts like a current limit to keep you from accidentally frying stuff.
If you want to get the resistance lower, you can make redundant connections to halve it each time (running that 85 Ohms in parallel with another 85 Ohms.)
Worst case, it's still a breadboard and although it's called Jumperless, that's not a rule. You can run jumpers the old fashioned way.

I'm giving you permission to take the Absolute Maximum Ratings for the CH446Q with a grain of salt. If you fry one, I'll repair it for free. The chips are super easy to swap out with a hot air gun. If you think you're going to fry these chips regularly (it's actually surprisingly hard to do), let me know when you place the order and I'll throw in a few extra CH446Qs in the box so you can replace them yourself.

If you don't love it for whatever reason, I accept returns indefinitely, even if you got a kit and built it yourself, or sawed it in half and lit both halves on fire. Just send it back and I'll issue a full refund.
Links to code and documentation
Certified Open Source Hardware - OSHW US002417
Shipping policy
I aim to ship out orders the same day they come in. And I will ship with the fastest option I can get with your shipping fee, usually 2nd-day Air for the US and 3 day shipping to Europe and Asia, for Oceania it can be a bit longer.
I'm as excited as you are for you to play with your new Jumperless so I'm going to get there ASAP.
